In this post, I explain how you can write a GitHub action that will generate HTML from Restructured Text (reST) and upload the HTML files to an S3 bucket. This workflow ensures that when you merge any changes to your reST source, the HTML is automatically built and posted to your hosting provider.
Introduction
Creating well-structured and easily accessible documentation is a key component of successful projects. In this guide, we’ll explore how to leverage Sphinx, a powerful documentation generator, along with GitHub Actions to automate the process of converting Restructured Text (reST) files into HTML pages. This automated workflow ensures that your documentation remains up-to-date and readily available to users. Let’s dive in!
Assumptions
This post assumes that you are:
- familiar with reST and Sphinx
- that you are using Github as the repository
- hosting the docs in a S3 bucket
- this post is aimed at technical writers and other non-technical users
Prerequisites
Before we begin, make sure you have the following in place:
- A GitHub repository containing your reST documentation files.
- An Amazon Web Services (AWS) account with access to an S3 bucket for hosting the HTML documentation.
Step 1: Setting Up the GitHub Actions Workflow
Create a GitHub Actions workflow that triggers on pull requests and manual dispatch. This ensures that your documentation is updated both during code changes and as needed.
name: Docs
on:
  pull_request:
    paths-ignore:
      - 'upload/**'
  workflow_dispatch:
permissions:
    contents: write
Where,
namedefines the name of the workflow.pull_requestspecifies that this workflow runs whenever you merge a pull_request to the master branch.paths-ignorespecifies that paths that are ignored during pull_request. That is, any changes in these paths are ignored and do not trigger a workflow.workflow_dispatchspecifies that you can trigger this flow manually too.permissionsspecifies that this workflow needs write permission to the github source.
Step 2: Installing Dependencies and Building Docs
This section explains the steps to install the dependencies required to build the documentation using Sphinx. This section defines the “docs” job that runs on the latest Ubuntu environment.
jobs:
  docs:
    runs-on: ubuntu-latest
    env:
      AWS_ACCESS_KEY_ID: ${{ secrets.AWS_ACCESS_KEY_ID }}
      AWS_SECRET_ACCESS_KEY: ${{ secrets.AWS_SECRET_ACCESS_KEY }}
      AWS_DEFAULT_REGION: '<region>'
    steps:
      - uses: actions/checkout@v3
      - uses: actions/setup-python@v3

      - name: Install dependencies
        run: |
          pip3 install sphinx==5.3.0 sphinx_rtd_theme

      - name: Build docs
        run: |
          sphinx-build -b html rst_sphinx/installation/server/AWS/ _aws_build
Where,
runs_onThe build process runs on an Ubuntu machine that Github automatically provisions for you when use Github Actions. You can customize the operating system to use. See the Github Actions documentation.envspecifies the evironment variables. This post walks through uploading the HTML docs to S3. For the workflow to access S3, you need to provide the AWS credentials and region. A best practice is to ensure that the Ubuntu machine where you are running this worflow has an IAM role required to access the S3 bucket. An alternate and easier (though not as robustly safe) is to provide the AWS access credentials workflow.yml. I explain the alternates to do this in a later post.uses: actions/checkout@v3specifies that we are using a script that checks out our Github repo. This Github repo checkout script is developed by other kind developers and is available from the Github Actions marketplace.uses: actions/setup-python@v3specifies that we are using a script that checks out our Github repo. This Install Python script is developed by other kind developers and is available from the Github Actions marketplace.namespecifies the name of a job that you want to execute. Give a detailed description of the job.runspecifies that commands that you want to run. In the first step, you must install any sphinx dependencies or extensions that you documentation project uses. You can find this information in theconf.pyfile of your reST project. Typically, you will need to specify the Sphinx theme, any extensions that your theme uses.namespecifies the name of a job that you want to execute. Give a detailed description of the job.runspecifies thesphinx-buildcommand required to build your docs.
Step 3: Uploading Artifacts and Deploying to S3/CloudFront
At this point, your HTML is already generated. The following section in the workflow does the following:
- Creates a zip of your HTML output from the sphinx-build command and uploads the .zip as an artifact to the Github Action job.
- Uploads the HTML output to an S3 bucket.
      - name: Upload docs as artifact
        uses: actions/upload-artifact@v3.1.2
        with:
             name: aws_artifact
             path: _aws_build

      - name: Upload docs to S3/Cloudfront
        run: aws s3 sync _aws_build/ s3://<bucket>/path
uses: actions/upload-artifact@v3.1.2 uploads the generated HTML documentation as an artifact. This ensures the documentation is accessible and can be easily shared. This upload artifact script is developed by other kind developers and is available from the Github Actions marketplace.
run: Subsequently, the documentation is uploaded to the specified S3 bucket using the AWS Command Line Interface (CLI). Ensure that you to replace <bucket> and <path> with your actual bucket name and desired path. Note: This command aws s3 sync _aws_build/ s3://<bucket>/path works for buckets that have an S3 bucket policy that dictates ACL permissions to the bucket. In existing S3 buckets, where you can explicitly specify the permissions to the HTML files, you can run this command: run: aws s3 sync acl --public-read _aws_build/ s3://<bucket>/path
Where to Store this Worflow File?
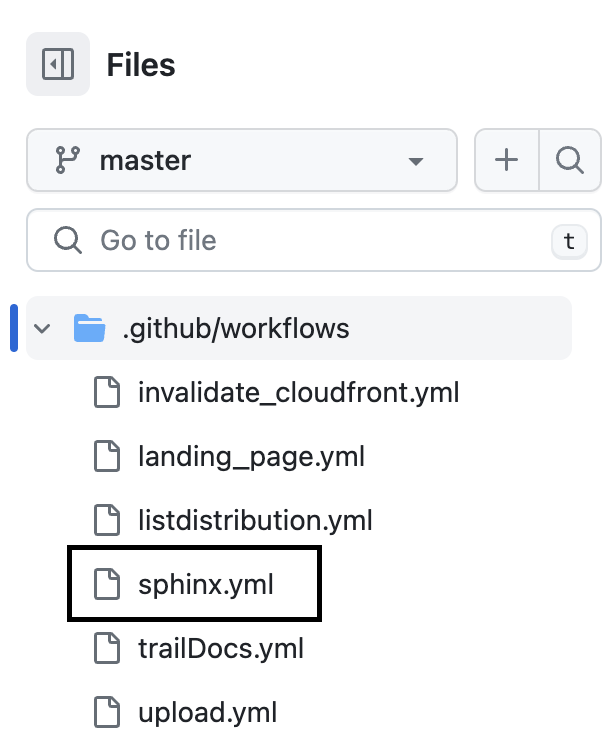
Now that you have a workflow file, you must upload this in the root folder of you documentation repo in Github.
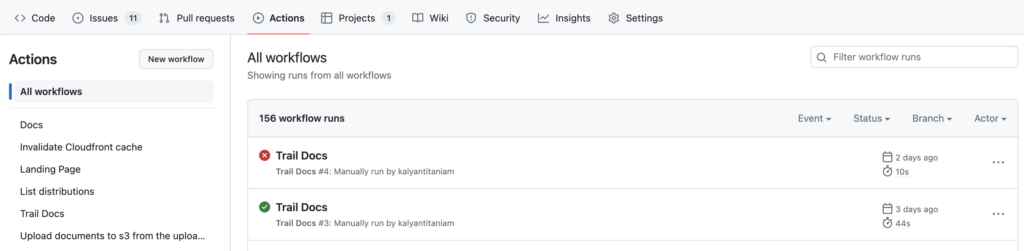
How to Run this Workflow
After you have added the workflow file to your Github repo, this workflow file will be available in the Github Actions of your Github repo.
Example Github Action Workflow YML File
name: Docs
on:
  pull_request:
    paths-ignore:
      - 'upload/**'
  workflow_dispatch:
permissions:
    contents: write
jobs:
  docs:
    runs-on: ubuntu-latest
    env:
      AWS_ACCESS_KEY_ID: <>
      AWS_SECRET_ACCESS_KEY: <>
      AWS_DEFAULT_REGION: '<region>'
    steps:
      - uses: actions/checkout@v3
      - uses: actions/setup-python@v3

      - name: Install dependencies
        run: |
          pip3 install sphinx==5.3.0 sphinx_rtd_theme

      - name: know the current directory
        run: |
          pwd

      - name: Build docs
        run: |
          sphinx-build -b html rst_sphinx/installation/server/AWS/ _aws_build

      - name: Upload docs as artifact
        uses: actions/upload-artifact@v3.1.2
        with:
             name: aws_artifact
             path: _aws_build

      - name: Upload docs to S3/Cloudfront
        run: aws s3 sync _aws_build/ s3://<bucket>/path
Troubleshooting
I am getting an Access Denied error for ListObjectsV2 when I run the sync command on my Amazon S3 bucket?
Reason: When you run this command (aws s3 sync _aws_build/ s3://<bucket>/path) from the workflow file, you might see this error: Access Denied error for ListObjectsV2. This error occurs if the AWS user credentials that you used in the env section does not have explicit list, read, write, permissions on the S3 bucket.
Workaround: To resolve this you will need to ensure the followoing:
- the AWS S3 user that you are using in the
envsection has access an IAM policy set to access the S3 bucket - the S3 bucket policy also grants explicit permission to this IAM user.
For more information, see this article.
Conclusion
By implementing this GitHub Actions workflow, you’ve successfully automated the process of generating HTML documentation from reST files using Sphinx and deploying it to an S3 bucket or CloudFront distribution. This enables your project’s users to access up-to-date and well-structured documentation with ease.
Remember to maintain your workflow by periodically checking for updates to Sphinx, reST files, or other dependencies. With a streamlined documentation process, you can focus more on delivering valuable content to your users.
1 thought on “Generate HTML from reST using Sphinx and GitHub Actions”